- Published on
Allalinhorn (4,027m) - Route Guide & GPX | An "Easy" First 4,000m Peak
- Author
-
-
- Name
- Posts
- Posts
-
Last updated: April 2026
The Allalinhorn isn’t exactly a famous name outside of climbing circles – I hadn’t heard of it before booking a trip to Saas Fee. It doesn’t have the looks of the Matterhorn or the legendary status of Mont Blanc, but it does have a reputation as one of the more “friendly” 4,000m peaks in the Alps. The Alps have over eighty of these so-called “4,000ers” and, while most require long treks to refuges, tricky ridges or a painfully early alarm clock, the Allalinhorn is a little more forgiving for us mortals. Thanks to Saas Fee’s lift infrastructure, two separate cable cars followed by the MetroAlpin (the highest underground funicular in the world), you can be standing on a glacier with crampons and an ice axe within an hour. All this infrastructure makes it feel almost like cheating, but we weren’t complaining.
That convenience makes it popular, though. The first funicular is usually heaving with climbers. From our hotel in the valley, we’d already seen a winding line of people making their way up the glacier on the Saas Fee webcam. We ended up taking a later lift, at least partly by design, and while this meant there were fewer people on the mountain, it also meant crossing snow bridges that were softening under the late-morning sun.

Allalinhorn between the parting clouds on an earlier walk in Saas Fee
Still, the idea of an “easy 4,000er” is a bit of a misnomer. “Easy” and “4,000 metres” don’t really belong in the same sentence. But for a first taste of the high Alps, it strikes a near-perfect balance: challenging enough to feel like a real climb, yet accessible enough that beginners can get stuck in while being treated to some of the most stunning views in the Alps.
Allalinhorn Route Guide
Overall rating: ★★★★★
Difficulty: ★★★★☆- Physically not too difficult, provided you're acclimatised. Difficulty mainly comes from glaciated terrain and the skills necessary to navigate this safely. (Alpine grade F+.)
Start point: Mittelallalin
Distance: 6km
Elevation: 600m
Time: Approx. 4 hours
Gear needed: Full alpine gear - ice axe, crampons, helmet, rope
Need to know: Saying an easy 4,000m peak is a bit misleading - it's not easy compared to your average mountain walk, but it's easy up against the likes of the Matterhorn in the 4,000m class.
The Ascent
As is typical of our organisational skills, before we could make our way to the cable car station we had to hire some extra items from one of the many outdoor shops in Saas Fee. After some funny looks from a lady in one of the shops who thought that Allalinhorn was too tame for a helmet, we ended up at Intersport and one of the friendly employees there quickly got us the extra bits we needed from their huge stock of rental equipment (highly recommend). We reached the Mittelallalin station at 10:30 am, fully kitted out but a bit later than we would have liked, not the end of the world though. This would be way too late for most other 4,000m mountains in the Alps, but given the huge head start from the cable car and funicular, we weren’t even close to the last group heading up.

Allalinhorn and the ski pistes from Mittelallalin
We quickly roped up, donned crampons and helmets, grabbed the ice axes and headed out onto the glacier. The first kilometre or so hugs the ski slopes, offering a nice warm-up to the glacier travel, but presents a unique challenge of dodging skiers. Saas Fee and the Allalin glacier are rare in that they provide skiing opportunities even in the summer. This, and the associated infrastructure, is what makes the “easy” ascent of the Allalinhorn possible. This was our first proper experience on a glacier, so the easier the better.
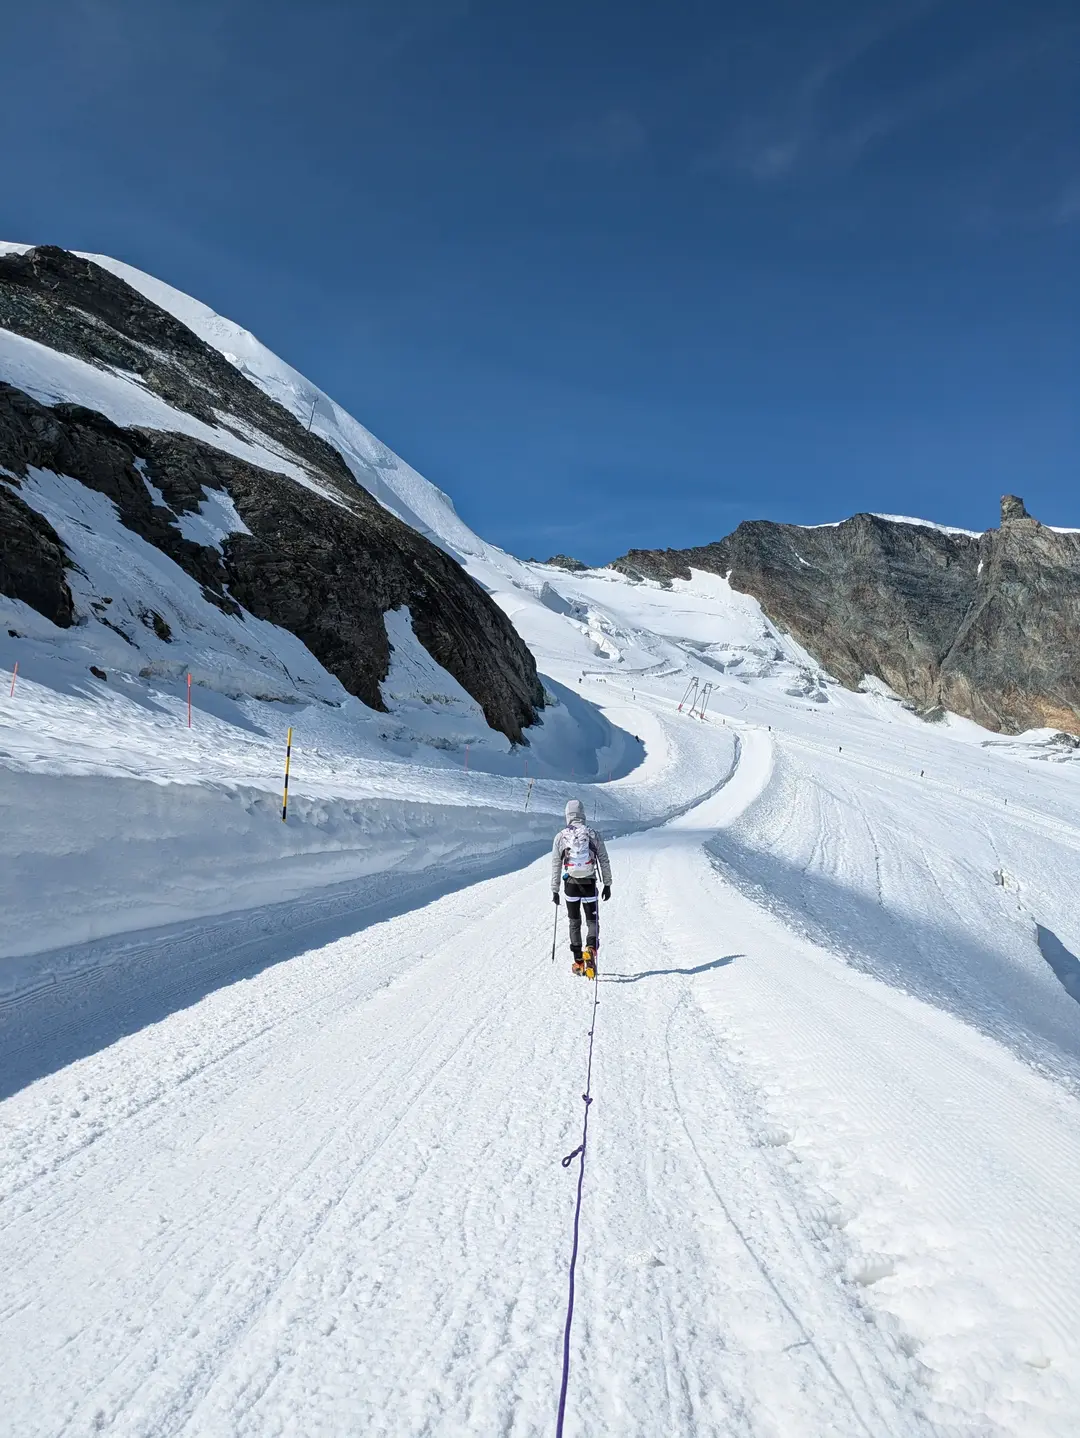
Setting out over the ski piste - bit of a warm-up with the rope
Having survived the skiers and traverse of the drag lift, the track through the snow narrowed and began to climb more rapidly up towards the col on the ridge between Allalinhorn and Alphubel. With the ski slopes behind, the proper glacier travel started. The route crossed at least two snow bridges that we could see – there were probably more, but best not to think about that. These properly got the heart rate going as we tried to avoid looking into the depths of the glacier whilst traversing as quickly as humanly possible. With the later start, we were well aware that these risked being less stable than the train of climbers from the day’s first cable car would’ve encountered.
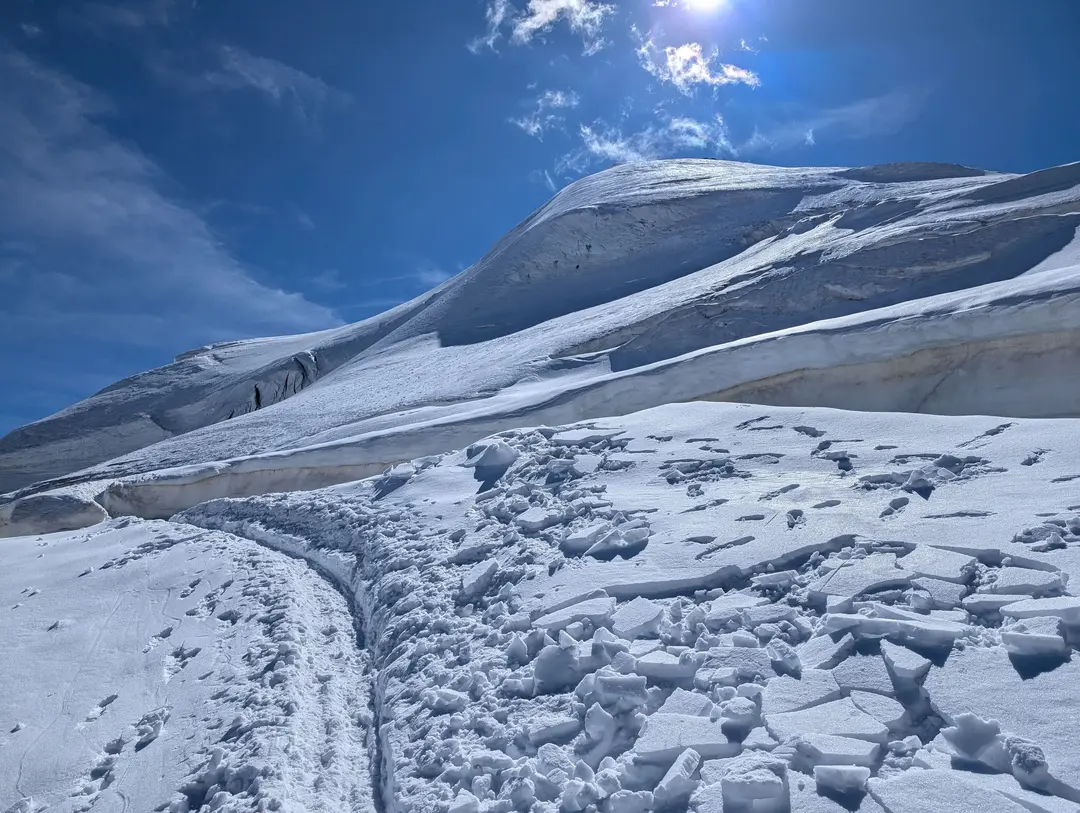
Heading up to one of the obvious snowbridges, with a pretty big crevasse running across
As we approached the col, the views out across the Alps opened up, with the famous Matterhorn standing proudly directly in front of us, surprisingly close. Walking in the valley, it is easy to forget that Saas Fee and Zermatt are only separated by a single ridgeline. Here, the western Alps all seemed so close. We had been extremely lucky with the weather too – whilst we had spent much of the rest of the week walking through clouds and mist, we were under a bright blue sky with just the odd cloud clinging to the mountains, only adding to the drama of the scene. The views could only be described as stunning, with even Mont Blanc visible out in the distance.
With the col gained, I thought that the worst of the glacier was over, so I took in some hand coils to allow us to walk a little closer together. However, as the path zig-zagged up the dome of the Allalinhorn, it became clear that this wasn’t the case. As I approached what looked like a footprint in the snow ahead, I realised I couldn’t see the bottom. Turns out someone had put a foot through what looked like a snow bridge. Taking solace that it was just a footprint, not a human-sized hole, I took a deep breath and kept the rope extended until we reached the rocks to the summit.
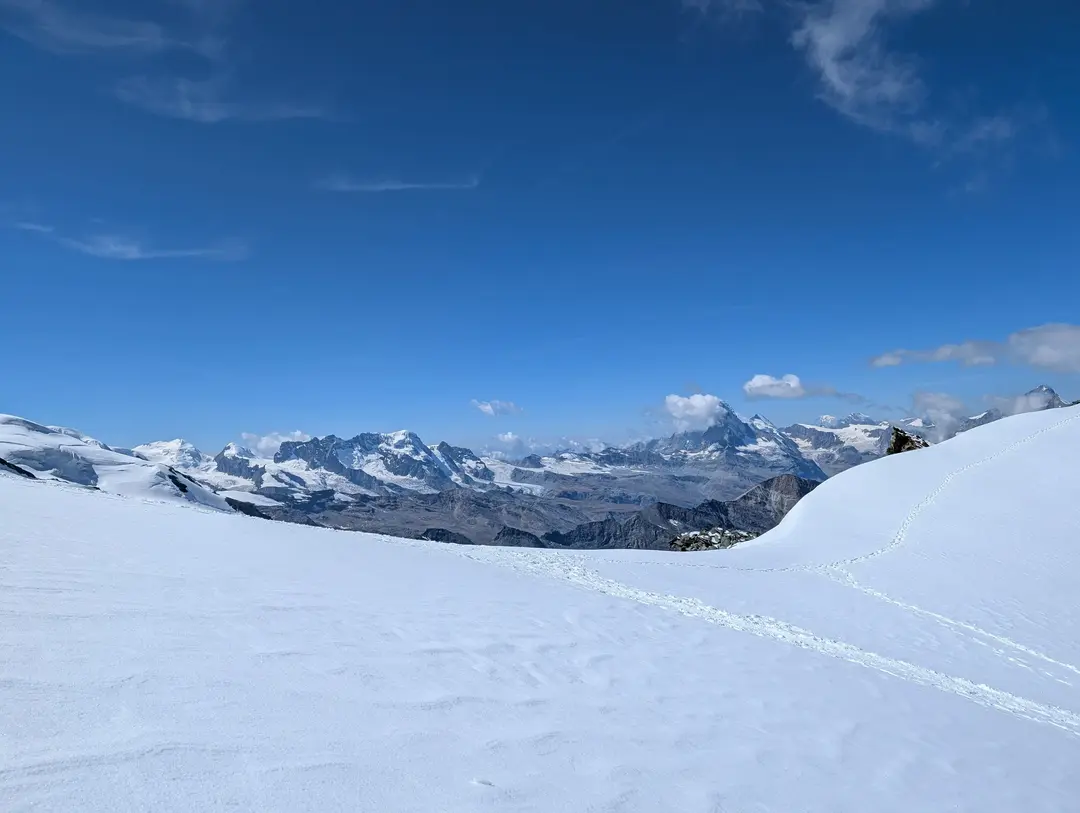
View opening up as we reached the ridge, notable mountains left to right - Castor, Pollux, Breithorn, Matterhorn and Mont Blanc in the distance
Speaking of which, the final 50m or so of ascent to the summit was a half scramble up the muddy gneiss. Crampons stayed on, clinking as we clambered our way up what can only really be described as a slag heap. This was all made worse by having to stop and start as roped parties were on their way down. I couldn’t imagine how painful this would have been if we had joined the train of climbers from the 7:30 am cable car. Saying this, on the final ascent over the glacier to the rocks, the summit push looked like it would be much more involved, with the rock looking near vertical. Besides stopping and starting to let people descending pass, this wasn’t as bad as expected.
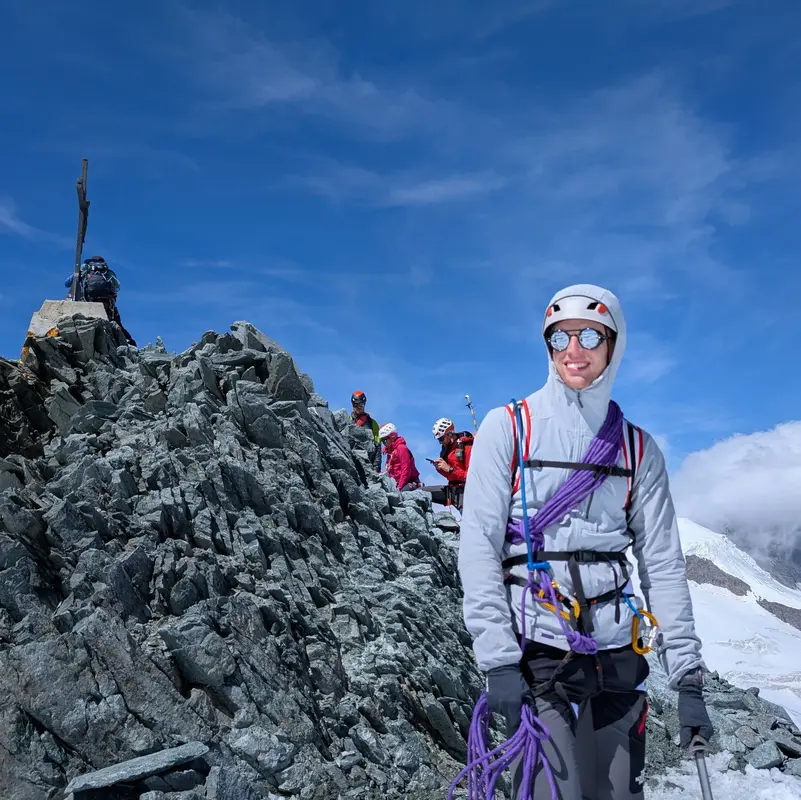
The summit ridge was a welcome respite from the muddy gneiss, with the snow returning and giving something for the crampons to bite into. All that remained was a quick walk to the summit cross, and our first 4,000m peak was bagged.
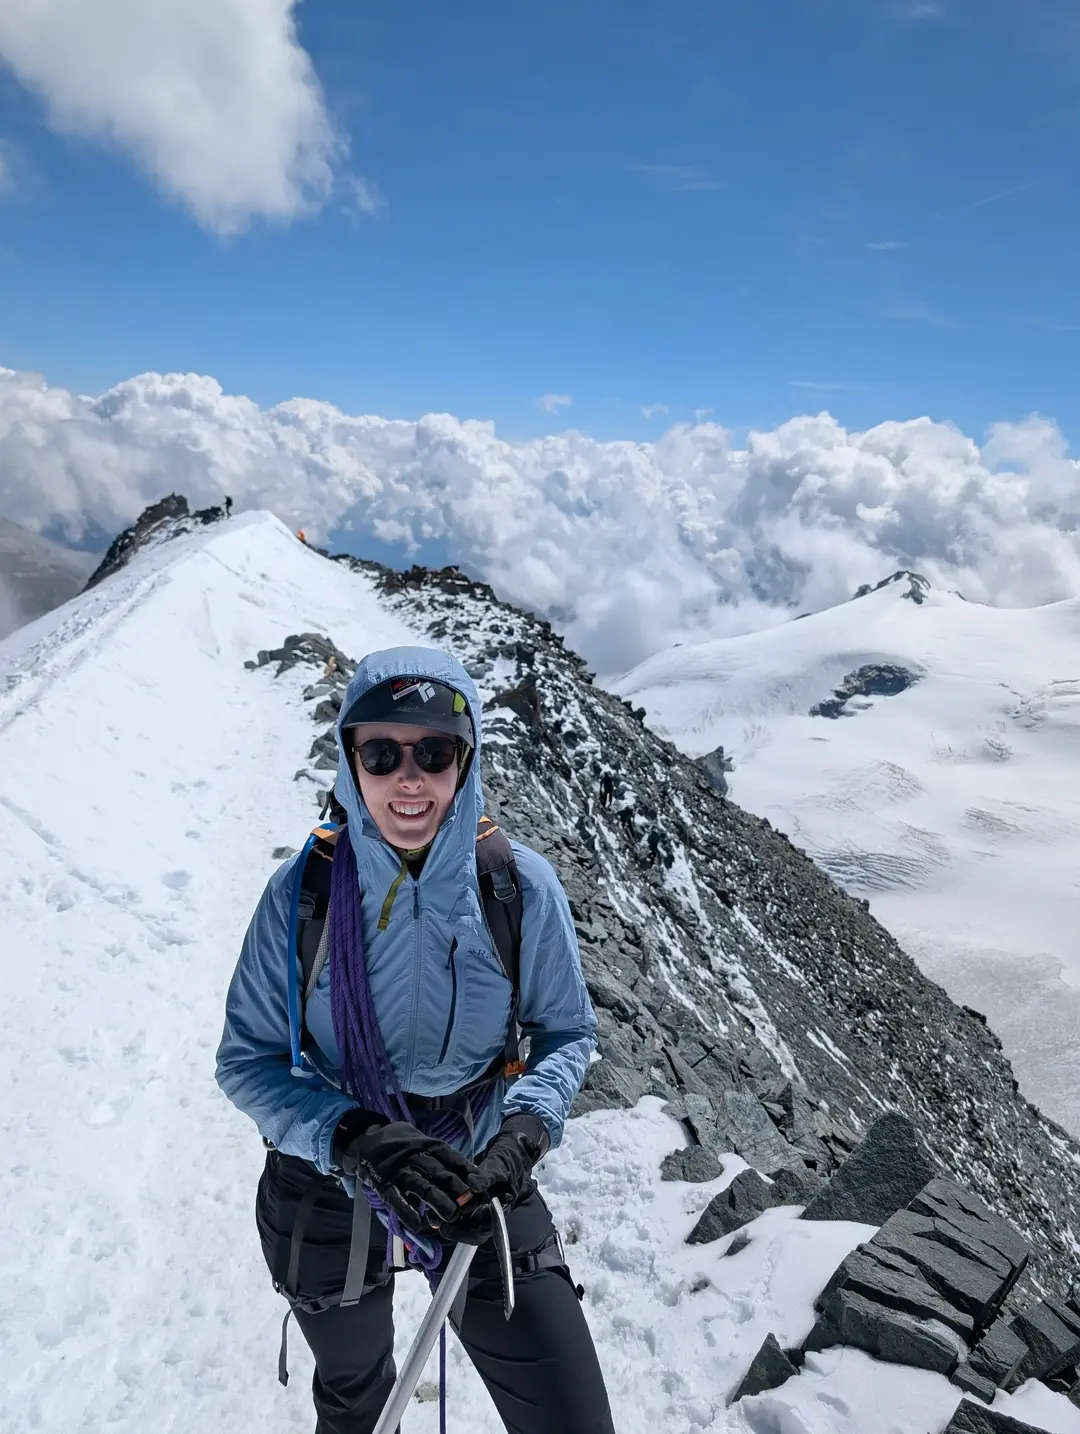
Ros at the end of the summit ridge
A climber we met on the way offered to take pictures of us on the summit, for which we were very grateful. He was also from the UK but was climbing solo – he explained that his friend had one too many drinks the night before (keeping the reputation alive for us Brits). Back on the ridge, not before sprinting over the glacier to take a photo for a pair of climbers, he pointed out the names of the surrounding mountains and casually dropped that he had soloed the Matterhorn. I think the Allalinhorn was a bit of a walk in the park compared. Coming from London, I am always surprised by the friendliness of people you meet out in the hills, and it was reassuring to have someone experienced on the mountain for our first 4,000er.
Whilst most people were roped up on the mountain, a surprising number weren’t. I swear we even passed a pair of climbers who didn’t have crampons on. It’s an easy 4,000er, but it is not quite that easy.
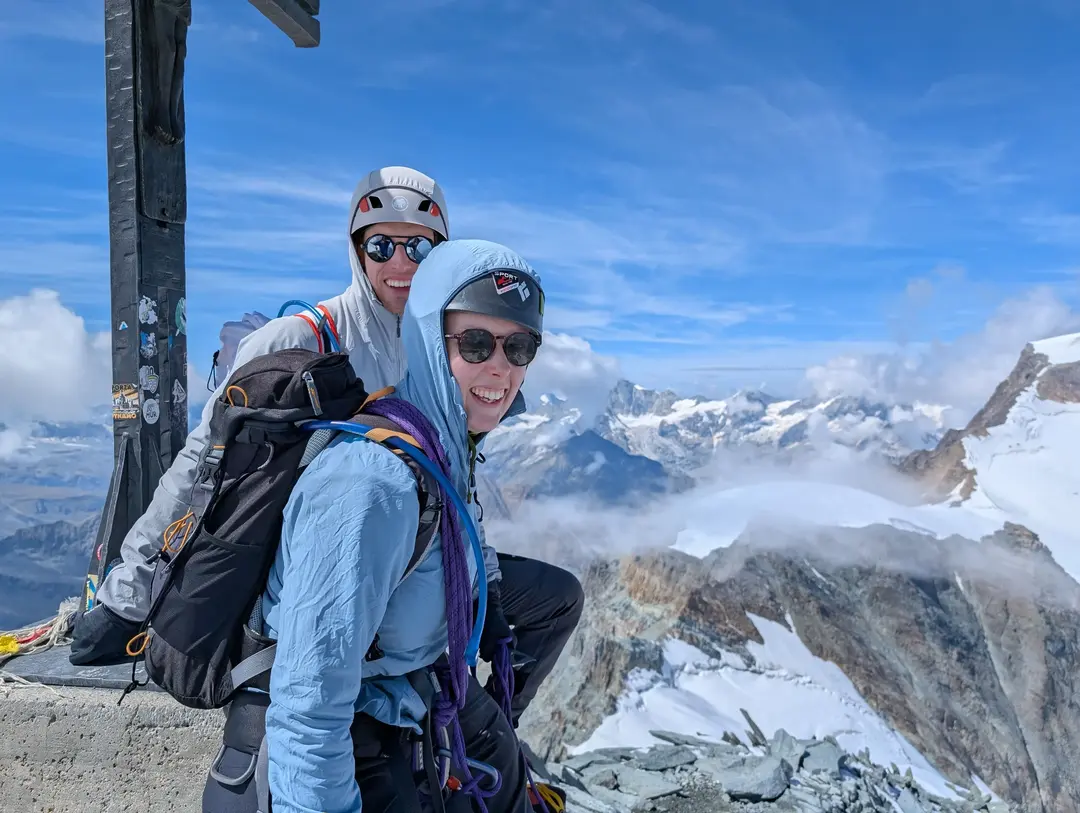
Obligatory summit photo
After descending from the summit proper, we took a quick break on the ridge, where I stood and demolished a family pack of Haribos whilst Ros adjusted her crampons. Clouds had started to form, so we took that as a sign that it was time to head down. The rocks were much better on the descent, with fewer climbers to pass (and the sugar rush probably helped too!). We were back down to the glacier without drama, within about 10 minutes.
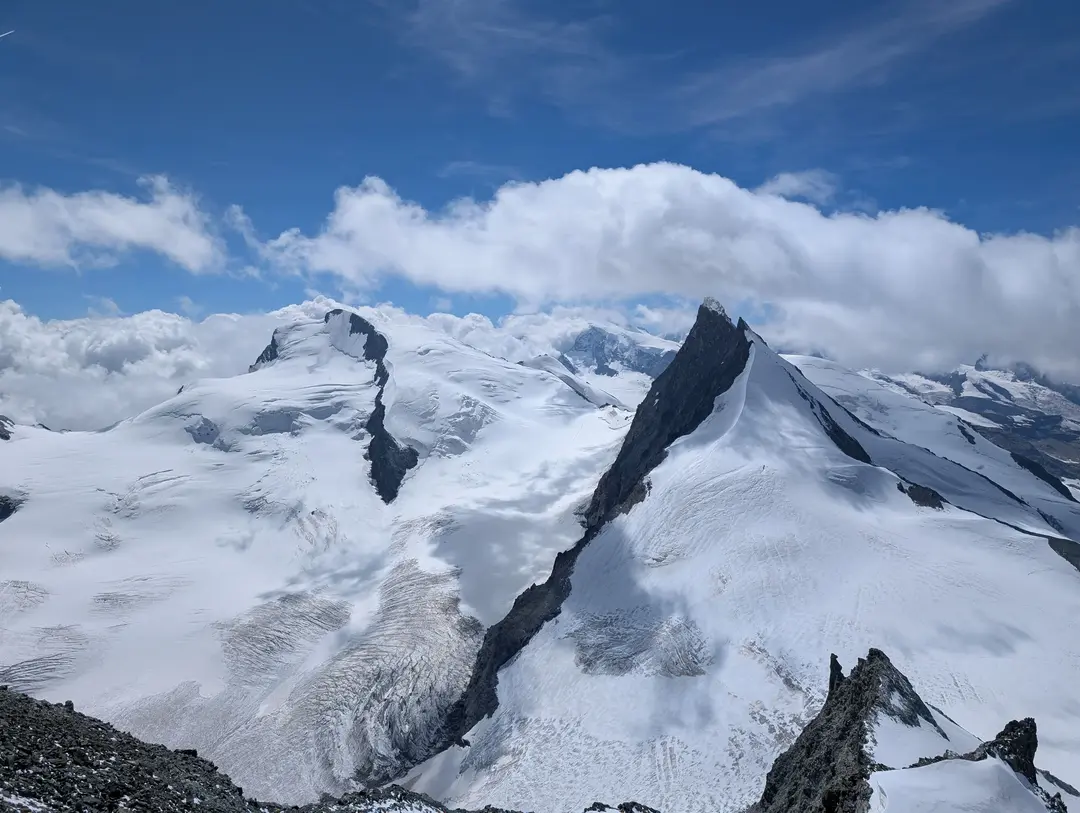
View from the summit out over Rimpfischhorn towards Monte Rosa
Back on the glacier, the wind picked up, and so we were glad to be on our way down. The descent followed the ascent route, back down towards the ski runs and taking care over the snow bridges. Before long, we were back on the pistes, which were now deserted and slushy in the afternoon sun. I definitely would not have wanted to set out any later; the snow bridges would have been even more sketchy. People were still ascending as we were making our way down.
Within an hour and a half of summiting, we were back at Mittelallalin. We dropped our gear, unroped and made our way to one of the last funiculars down for the day (with maybe an hour to spare). Our first 4,000m peak was done and, more importantly, we were back safely. There is still a lot to learn, but we were immensely proud of ourselves. The views and experience will likely last a lifetime; this was the perfect end to our week in Saas Fee.
Planning a Trip? - Some Practicalities
GPX Route
This GPX route was recorded by us during our ascent (as is reflected on the 3D route map). Glacier and mountain conditions can change, so treat this as a rough guide rather than a precise plan. For example, pictures online would suggest that there used to be a ladder over one of the larger crevasses - it was not there on the day we climbed. Always prepare carefully and follow local safety guidance.
Getting There
Map of start point above - click "Open in Maps " to open Google/Apple Maps and get directions
Saas Fee is a car-free town, so use the (very good) local bus network to ride to the Saas Fee bus terminal. You can drive and park at a multi-storey car park at the entrance to the town, but it would probably be more hassle than it's worth.
From there, you can walk to the Alpin Express cable car, which is in two stages up to Felskinn. From Felskinn, you then take the MetroAlpin funicular up through the inside of the mountain to Mittelallalin. Check the lift timetables and the operational status of the lifts before you head out.
One benefit of Saas Fee is that in the summer and autumn, if you are staying in the valley, most accommodations offer the Saastal Card. This provides free unlimited use of the lifts and buses during your stay (excluding the MetroAlpin, for which you can buy a discounted ticket). This means you save a huge amount of money compared to staying in other areas, where you could easily spend north of 100 euros a day on lifts.
When to Climb
The Allalinhorn is best climbed in the summer months - July to September. Outside of this, it is a much more involved ascent, requiring skis due to the volume of snow, not to mention avalanche risk. Obviously, weather conditions on any given day/year will influence how viable a climb is.
Weather
The weather in the Alps is famously changeable, with afternoon thunderstorms common. This means that morning ascents are best (plus, snow conditions are better - see below). Saas Fee has a great network of webcams around the resort, which are sometimes more useful than a weather forecast to check conditions on the day. See embed below.
Saas Fee webcams. The first view is Mittelallalin
Glacier Travel
The entire route, except the final section to the summit, is on a glacier. Even on the rocks, you will be climbing with crampons on. The glacier is crevassed, and you will be crossing snow bridges, some of which you may not always be aware of. Glaciers are an inherently unstable landscape and carry objective hazards that you need to appreciate before setting out on an ascent.
I won't go into the details of glacier travel, I am not qualified to do so for a start. However, you should not attempt this route if you do not have a solid understanding of how to travel on a glacier safely. This includes being comfortable using crampons and ice axes and travelling as a roped party. The glacier means that early starts are best, though bear in mind that everyone else knows this, and so the first cable car will be rammed. Travelling on a busy route carries its own challenges.
If you are at all unsure of your abilities, you should attend a course or hire one of the many guides available from the valley.
That said, the Allalinhorn offers an excellent opportunity to gain glacier experience as a stepping stone to bigger, more challenging peaks. If you have the necessary skills and knowledge, a bit of apprehension is probably healthy.
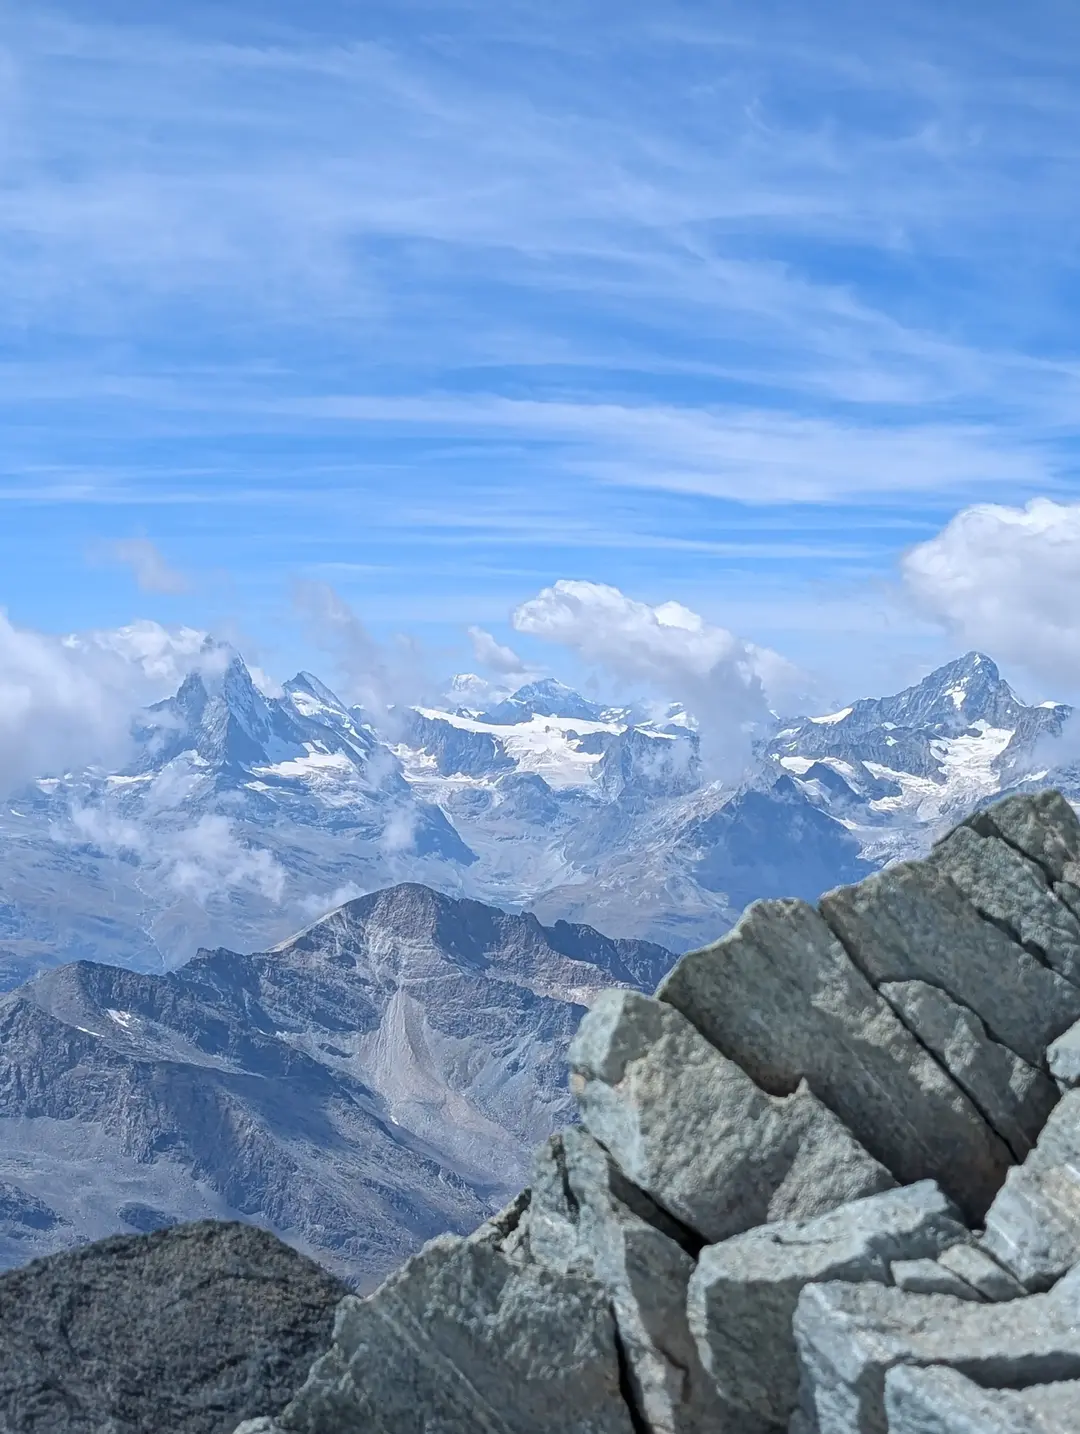
View from the summit - the Matterhorn (LHS), Mont Blanc in the distance and Dent Blanche (RHS)
Altitude
The main draw to climbing the Allalinhorn is that it is over 4,000m tall. If you are not at all acclimatised before attempting the climb, you will struggle, and it will not be enjoyable (to say the least). A couple of days doing walks from the valley, or taking trips up the cable cars, would go a long way. We spent a week beforehand doing walks up to about 3,000m, plus some additional cable car journeys - more for pleasure than explicitly for acclimatisation, but they helped nonetheless!
Still, when we got off at Mittelallalin, we could feel the altitude's effect on our breathing, though we quickly got used to it and had no other symptoms.
A few tips to make sure you are as well-prepared as possible:
- Come to the valley with a decent level of cardiovascular fitness. Being conditioned to perform steady-state cardio for extended periods gives you the best chance of handling altitude well. Think long, slow runs and long walks for training. Being fit alone does not guarantee you will handle the altitude well, and you should still take steps to acclimatise.
- Get sufficient sleep in the days leading up to your climb
- Do some more walks at reasonable altitudes before your climb to give your body the best chance to acclimatise.
- Eat plenty of carbs the day before your climb
- Drink plenty of fluids
- Make sure you apply ample sunscreen (UV is stronger up high), especially on the underside of your chin and nose. The light bouncing off the glacier tends to burn you in unusual places!
Related Posts
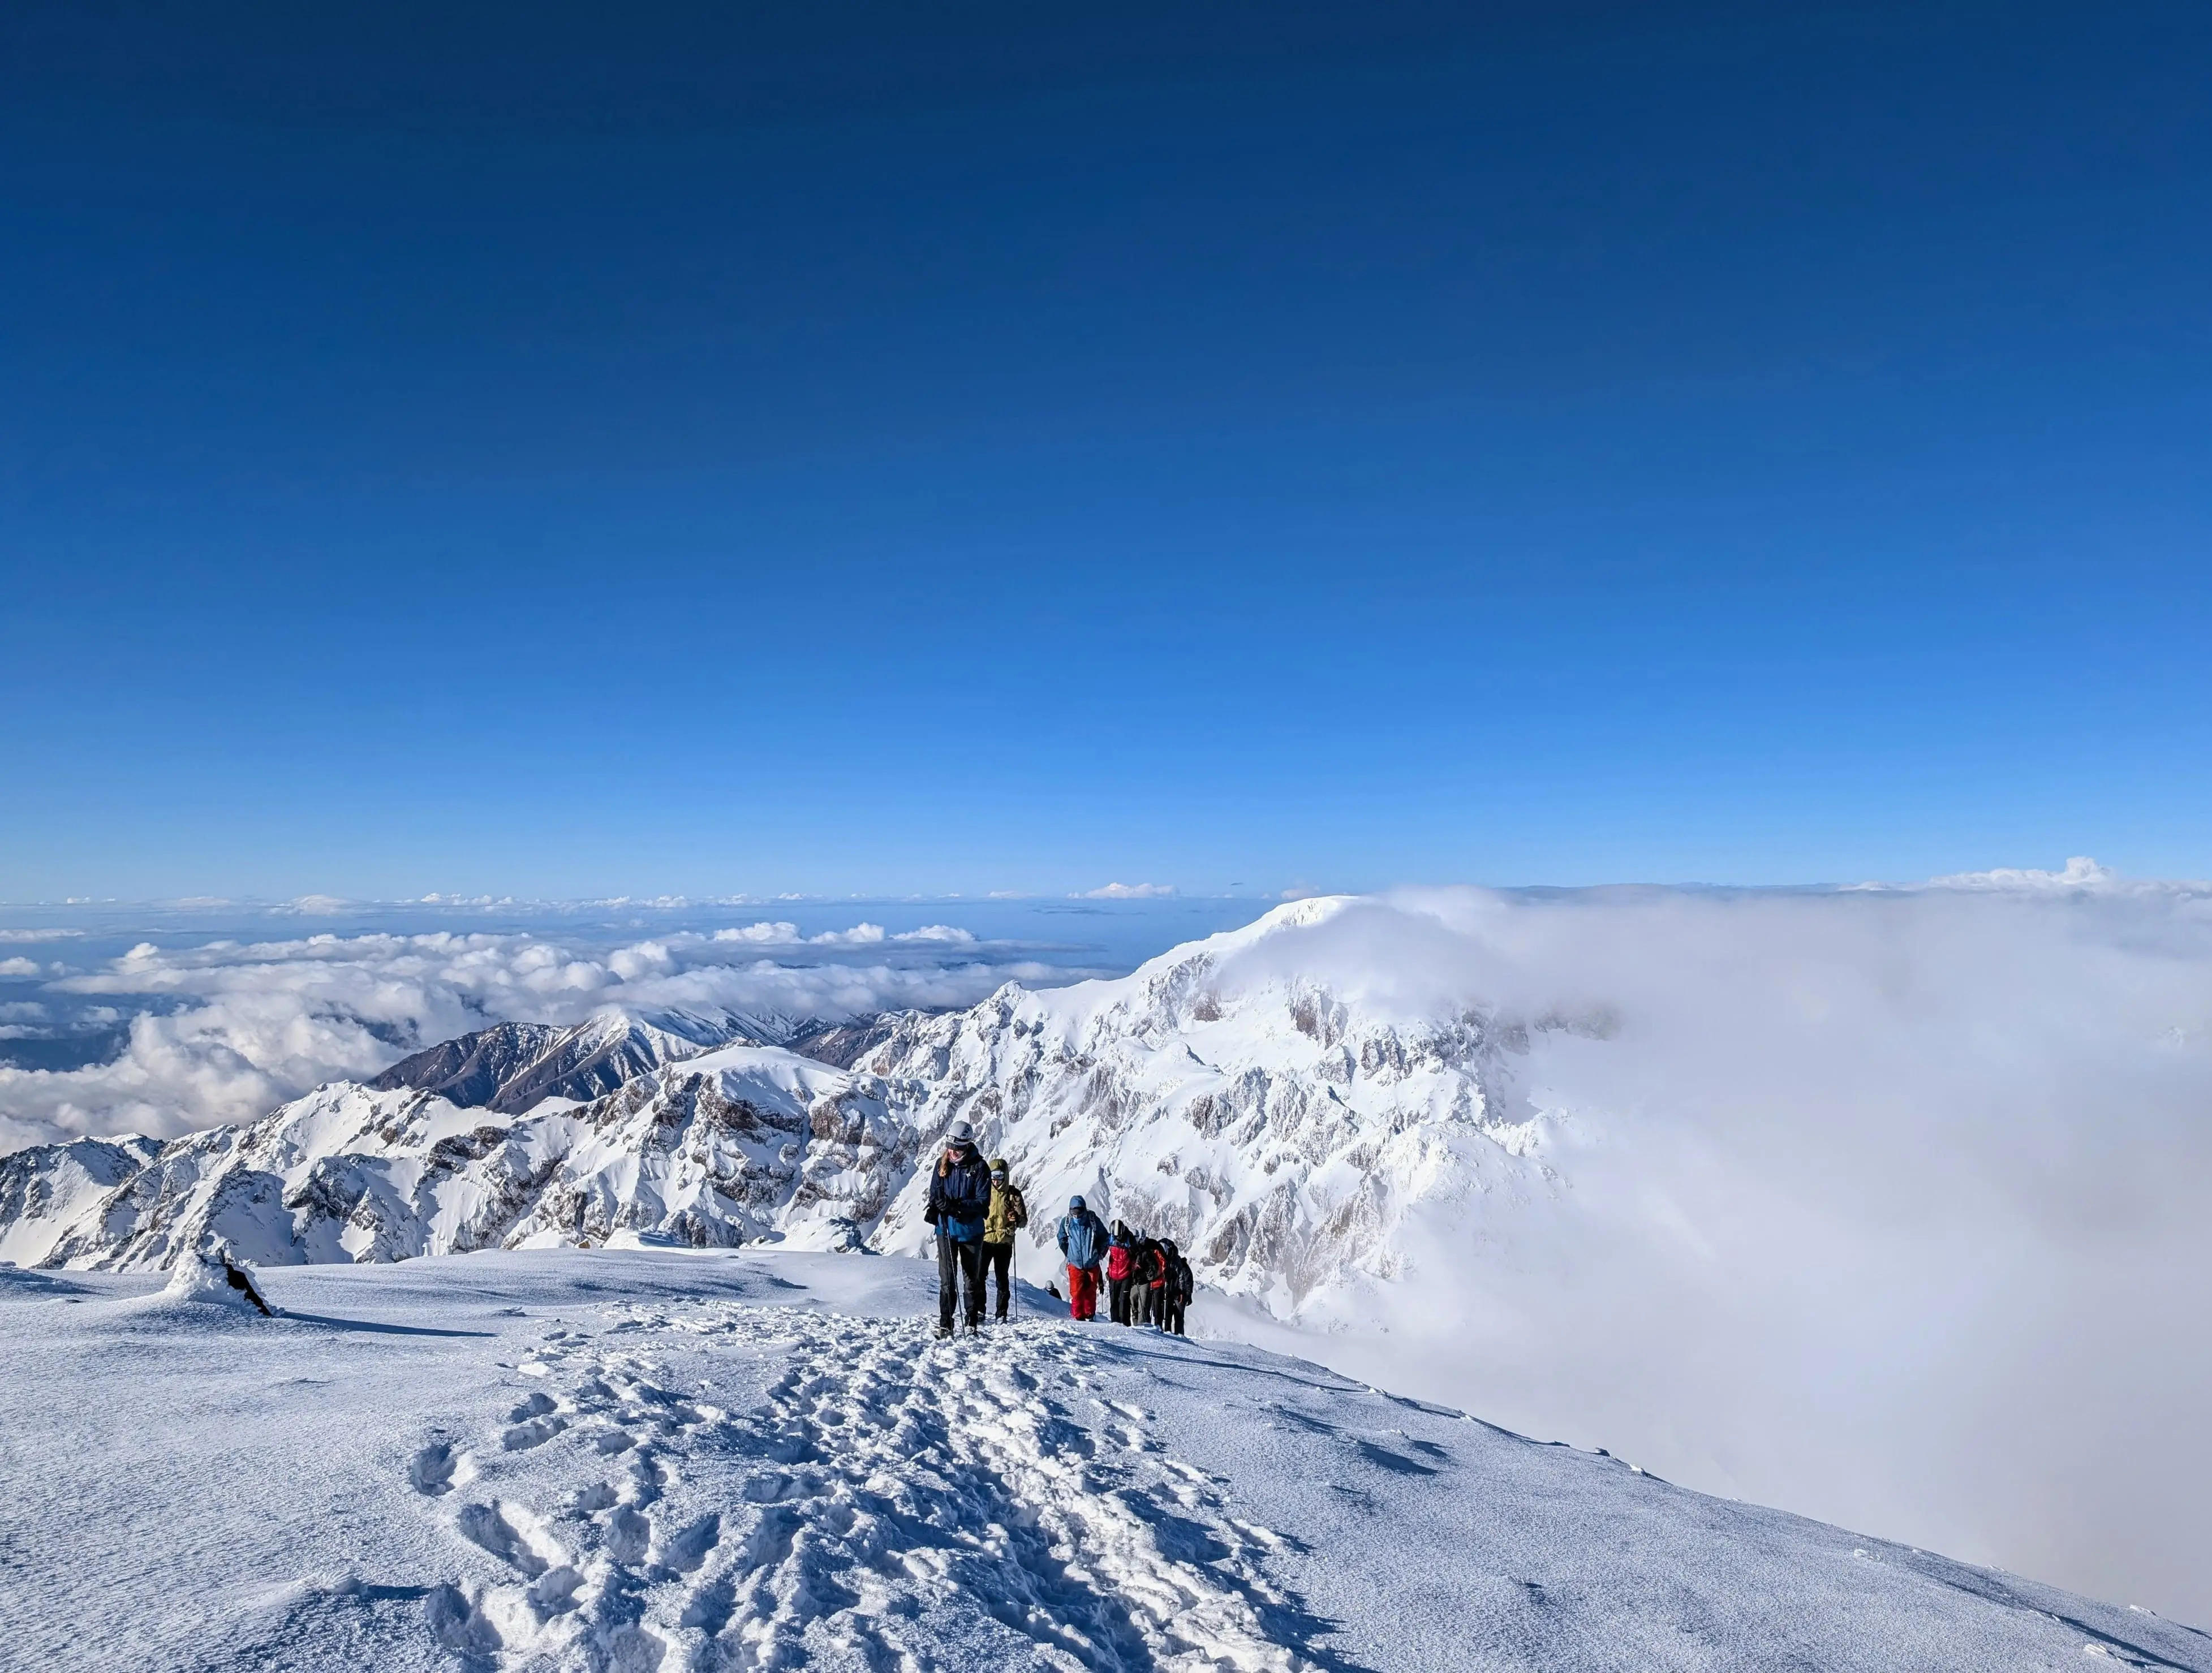
Toubkal (4,167m) - Route Guide & GPX | Climbing Morocco's Highest Peak in Winter
Last updated: April 2026 The Atlas Mountains stretch across North Africa, forming a natural barrier between the Sahara Desert and the Mediterranean. The range tops out in the High Atlas at Mount Toubkal...
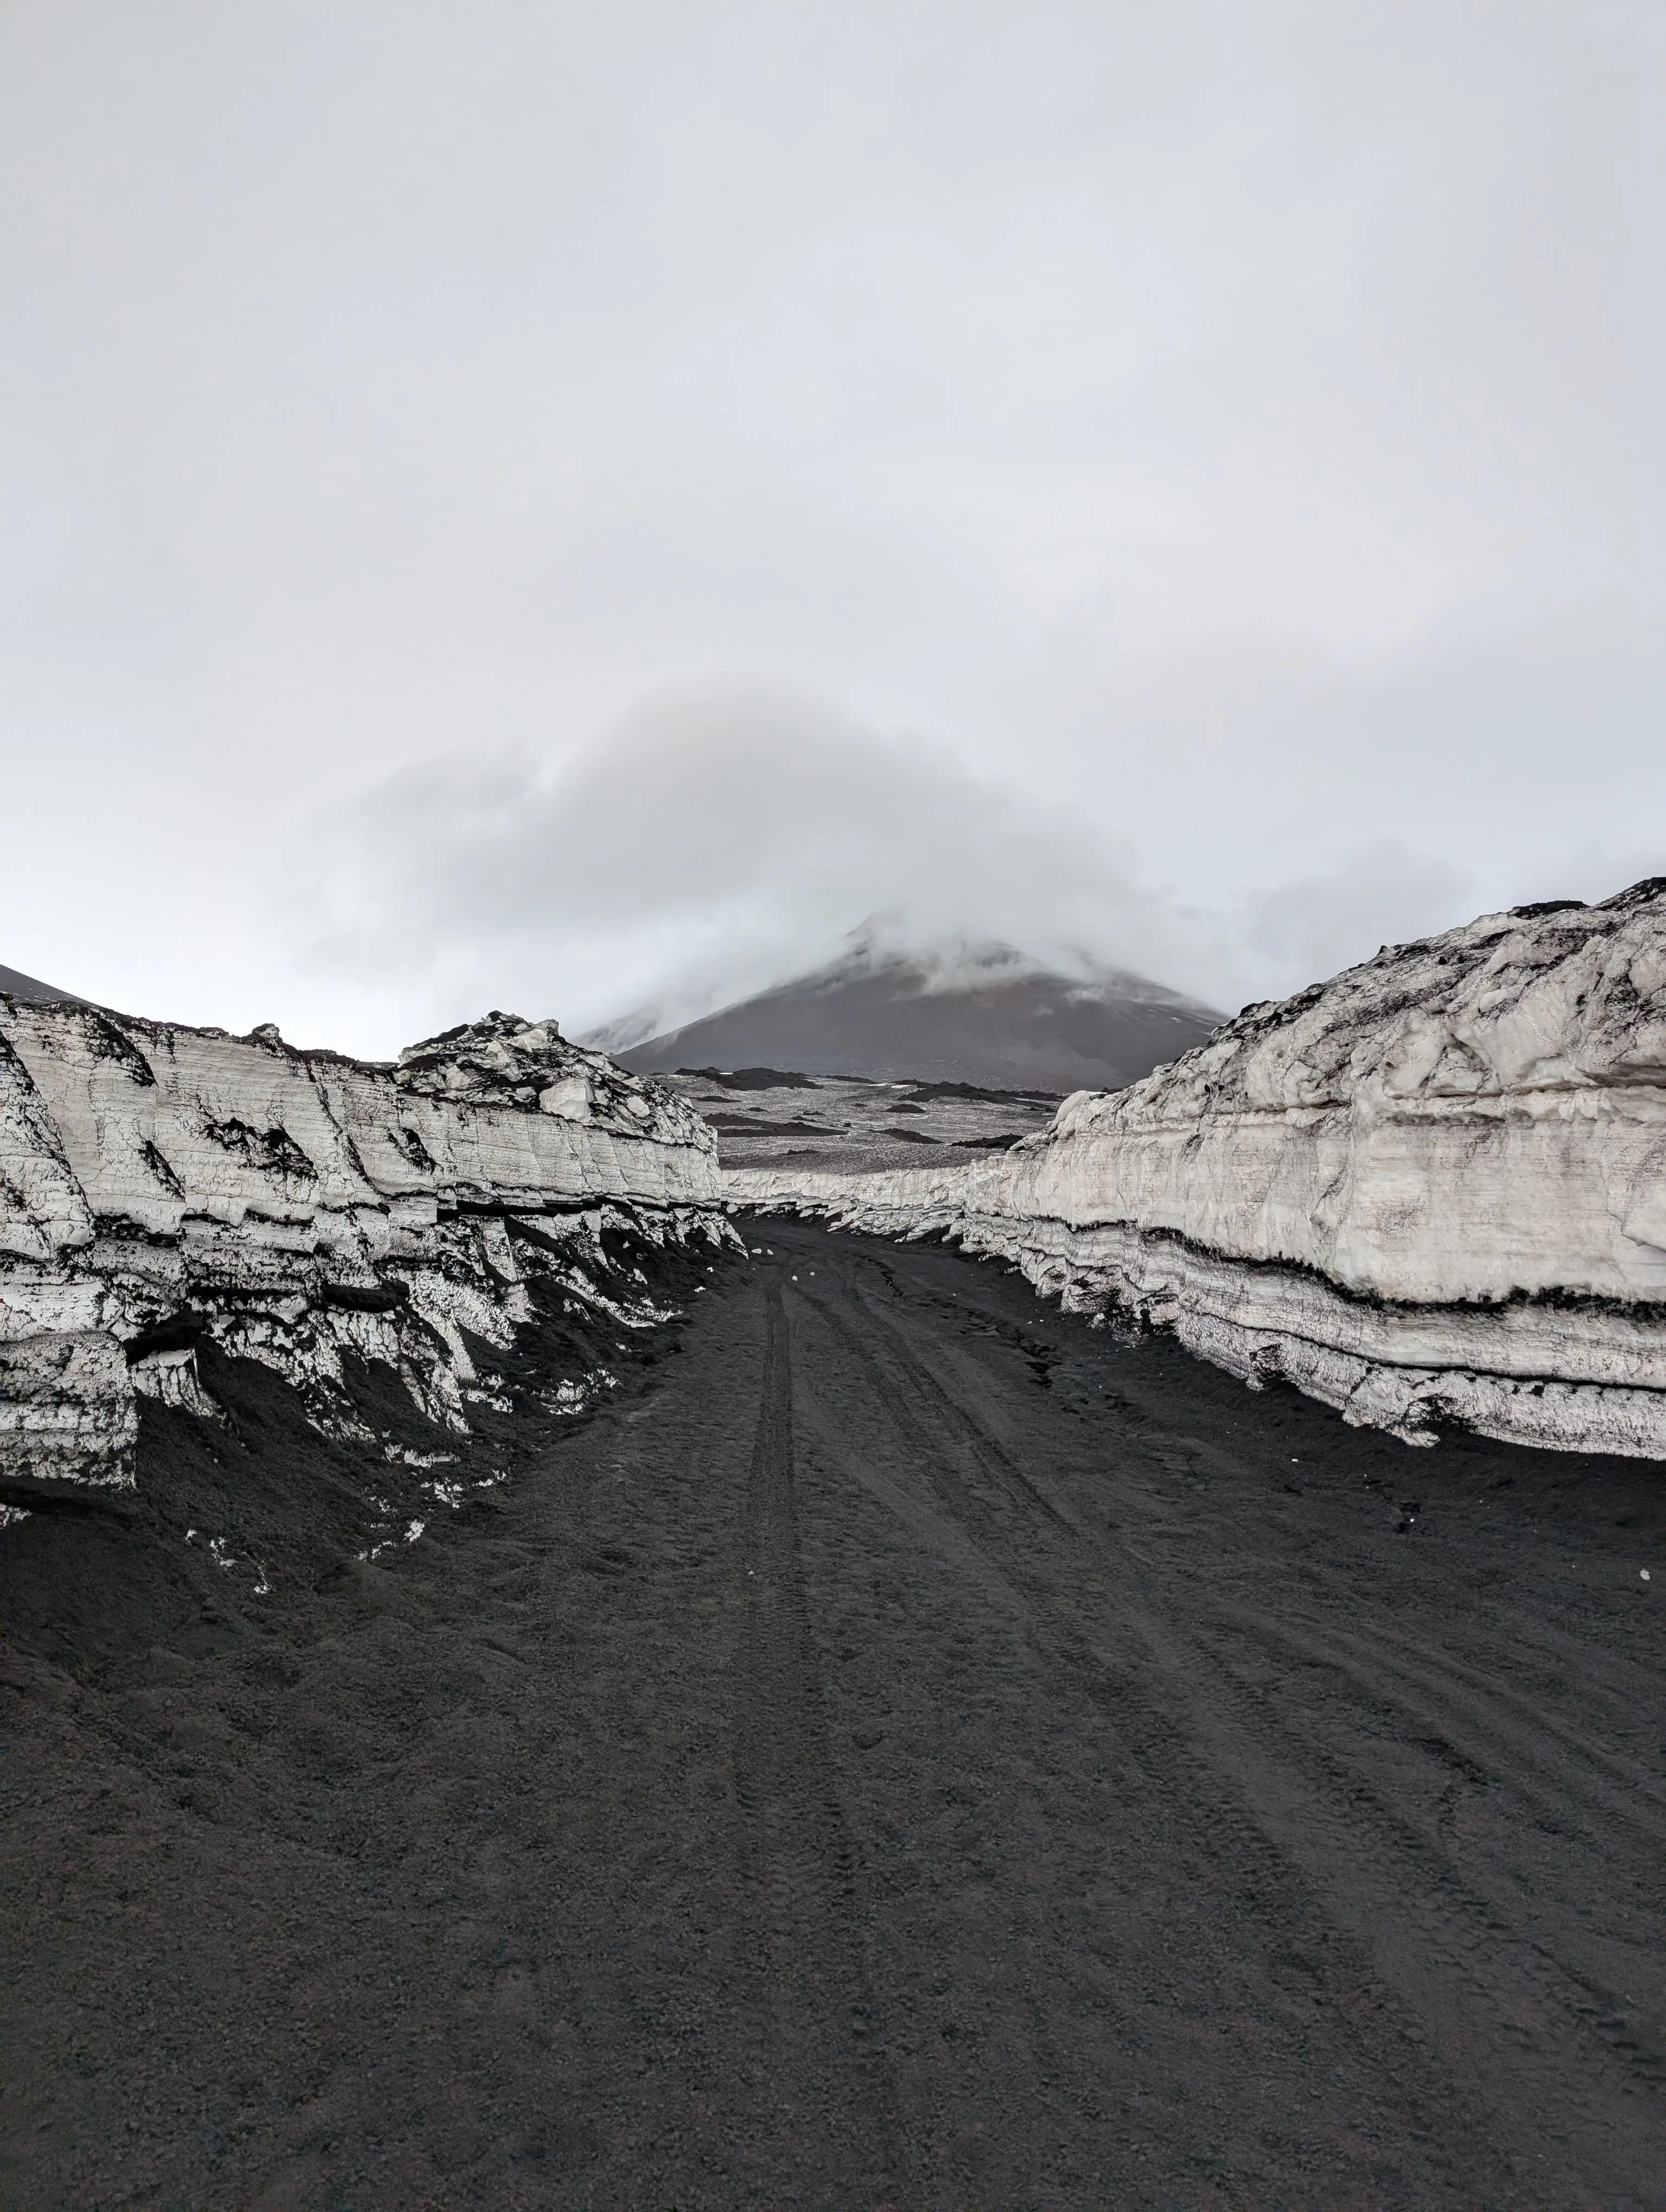
Mount Etna (~3,350m) - Route Guide & GPX | Climbing Europe's Most Active Volcano in Winter
Last updated: April 2026 Rising from the Mediterranean, Mount Etna stands as the highest volcano in Europe, the highest mountain in southern Italy and one of the world’s most active volcanoes. What...

Comapedrosa (2,943m) - Route Guide & GPX | Andorra's Highest Mountain
Last updated: April 2026 Whilst the Alps get most of the attention in the European mountain scene, there’s an equally beautiful and dramatic range on the other side of France. The Pyrenees form the...